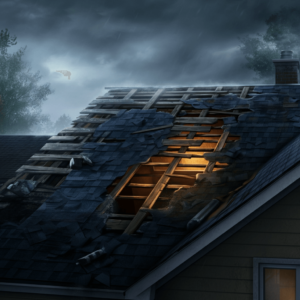
Did you know that a properly installed sloped roof can last up to 30 years longer than a poorly installed one?
If you’re considering a new roof installation or replacement, you’ve come to the right place. In this comprehensive guide, we’ll walk you through everything you need to know about sloped roof installation, from planning to maintenance.
Table of Contents
Understanding the Basics: Why Slope Matters
Your roof isn’t just about keeping rain out – it’s your home’s first line of defense against Mother Nature’s fury. A properly sloped roof efficiently channels water away from your home, preventing costly water damage and extending the life of your roofing materials.
According to the National Roofing Contractors Association, homes in areas with heavy rainfall should have a minimum slope of 4:12 (meaning the roof rises 4 inches for every 12 inches of horizontal run). This isn’t just a random number – it’s backed by decades of research and real-world experience.
The Complete Sloped Roof Installation Process
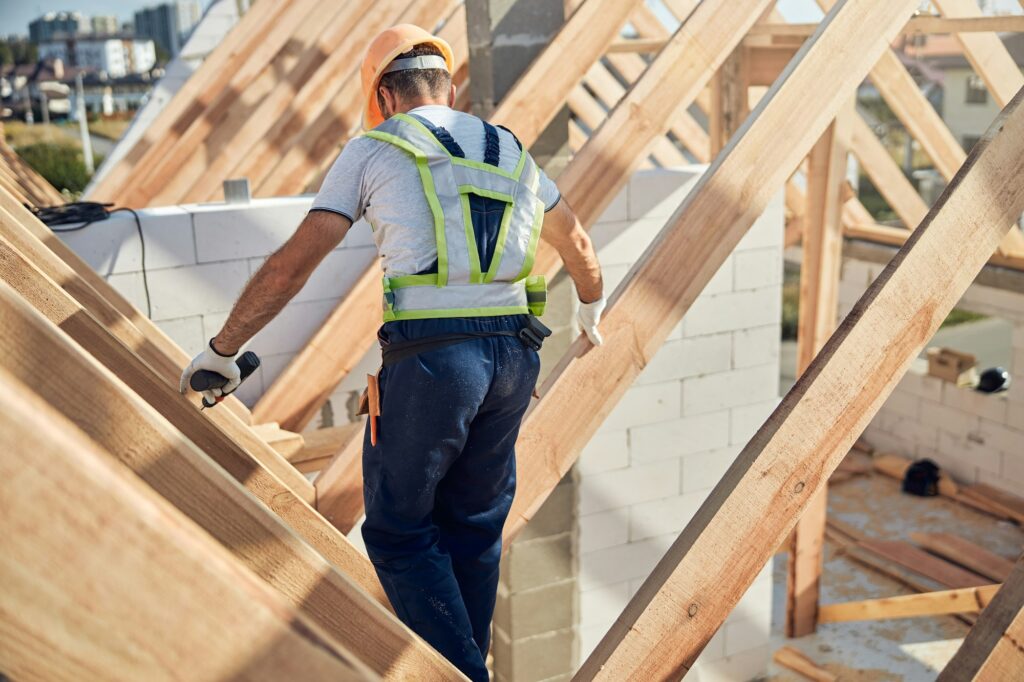
1. Planning and Preparation
Before climbing any ladders, it’s important to have a solid plan in place to ensure safety and efficiency. Here’s what to consider: evaluate the ladder’s condition, choose the right type for the task, and ensure the ground is stable. Additionally, check your surroundings for any hazards and have a spotter if possible.
- Material selection based on your climate
- Local building codes and permits
- Structural assessment of your existing framework
- Budget planning including a 15-20% contingency
- Timeline coordination with weather forecasts
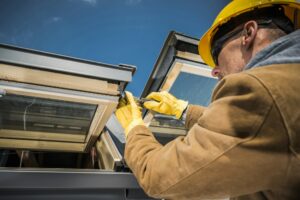
2. Essential Materials and Tools
A successful installation requires the right equipment:
- Roofing materials (shingles, tiles, or metal panels)
- Underlayment and moisture barriers
- Flashing for valleys and penetrations
- Ventilation components
- Safety equipment
Pro tip: Always order 10-15% extra materials to account for waste and repairs.
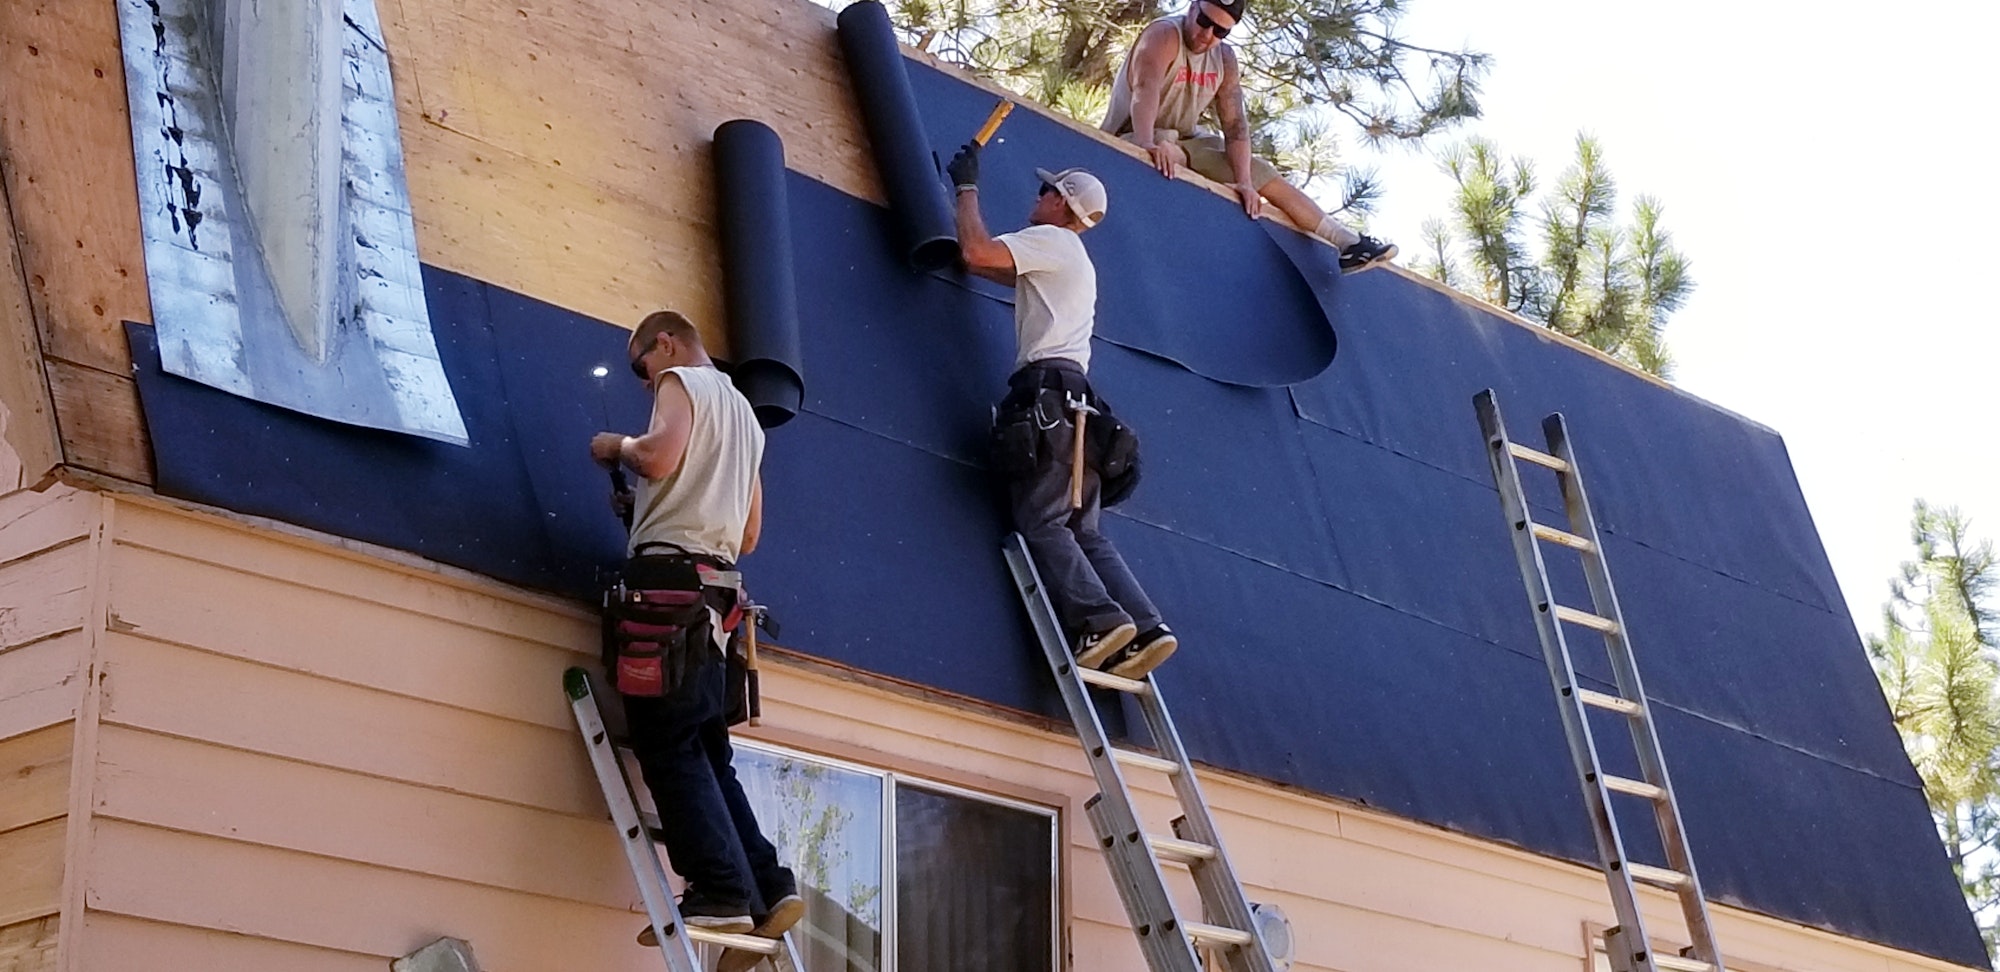
3. Installation Steps
Let’s break down the process step by step: First, we’ll outline the key components involved. Then, we’ll examine each part individually to understand its role and significance. Finally, we’ll bring everything together to see how the entire process functions as a whole.
Step 1: Remove Old Roofing
- Strip existing materials
- Inspect decking for damage
- Replace rotted boards
Step 2: Prepare the Base
- Install drip edge
- Apply ice and water shield
- Lay underlayment
Step 3: Install Roofing Materials
- Begin at the bottom edge
- Work upward in overlapping rows
- Install ridge caps last
Common FAQs About Sloped Roof Installation
Q: How long does installation take?
A typical 2,000-square-foot residential roof takes 3-5 days with a professional crew. Weather and complexity can affect this timeline.
Q: What’s the best season for installation?
Late spring through early fall offers ideal conditions. However, skilled contractors can work year-round with proper precautions.
Q: Can I DIY this project?
While possible, professional installation is strongly recommended. Studies show that 90% of roof failures stem from improper installation.
Cost Considerations and ROI
A new sloped roof is a significant investment, but one that pays off:
- Average cost: $8,000-$20,000
- ROI at resale: 60-70%
- Energy savings: Up to 15% annually
- Insurance premium reductions: 5-10%
Factors Affecting Cost:
- Material choice
- Roof size and complexity
- Local labor rates
- Existing roof condition
- Additional features (skylights, ventilation)
Maintenance Tips for Longevity
Your new roof needs regular care:
- Bi-annual inspections
- Regular gutter cleaning
- Prompt repairs of minor issues
- Professional maintenance every 3-5 years
Environmental Considerations
Modern roofing isn’t just about protection – it’s about sustainability:
- Energy-efficient materials can reduce cooling costs by up to 25%
- Recyclable materials minimize environmental impact
- Solar-ready designs future-proof your home
- Proper insulation reduces carbon footprint
Expert Tips for Success
- Always get at least three detailed quotes
- Check contractor credentials thoroughly
- Review material warranties carefully
- Document the installation process
- Keep all maintenance records
Innovation in Roofing
The industry is evolving rapidly:
- Smart sensors for leak detection
- UV-resistant materials
- Impact-resistant options
- Cool roof technology
- Integrated solar solutions
Making the Right Choice
Consider these factors when selecting your roof:
- Local climate conditions
- Architectural style
- Long-term maintenance requirements
- Budget constraints
- Energy efficiency goals
Conclusion
A well-installed sloped roof is more than just protection – it’s an investment in your home’s future. By following proper installation procedures and maintaining your roof regularly, you can enjoy decades of reliable service and enhanced home value.
Remember: The most expensive roof isn’t always the best choice, but the best-installed roof is always the most cost-effective in the long run.